Digital Matte Painting - Project 2 : Invisible Set Extension

Ting Wen Yi / 0361799
Digital Matte Painting/Bachelor of Design (Hons) in Creative Media
Project 2 : Invisible Set Extension
INSTRCTIONS
You will synthesize the knowledge gained in task 1 and 2 for application in task 3. Students are to demonstrate technical capability to analyse, composite and communicate set extension over raw footage or recreate it by scratch and add motion. You will dissect and deconstruct raw footage to understand the nature and concept of the footage environment requirements for extension. With the understanding gained, you are to synthesize the knowledge to produce believable and compelling footage that syncs naturally as required. You will start with sketching and move on to digitization and then generation using the appropriate software. Upon completion of the set extension you will construct a poster of equivalent to promote your creation. You will conclude by selecting and presenting your creation in the instructed format/s:
- Compiled technical doc .pdf (*moodboard, style-guide, sketches, technical processes as posted in their e-portfolio).
- Final output to ready for final project.
- Online posts in your E-portfolio as your reflective studies
PROJECT 2: INVINSIBLE SET EXTENSION
I started Project 2 by building on the composition and idea I had already sketched out in Project 1. Using that foundation, I began blocking out the scene.
 |
| Figure 1.1 Chosen Composition - Week 8 (3/10/2024) |
I used geometry nodes to create cubes of varying hierarchy and widths to represent the city's buildings. However, during feedback session, Mr. Kannan mentioned that the arrangement was overcrowded and too complex.
 |
| Figure 1.2 Block Out - Week 8 (17/11/2024) |
To address the feedback, I removed the excessive buildings and focused on making the scene clearer. I added a layer of cities below the primary platform to emphasize the concept of a floating city. The cities below are partially covered in clouds, ensuring they are visible but not the focal point of the composition.
 |
| Figure 1.3 Blender Block Out - Week 9 (24/11/2024) |
Once the first "island city" was completed, I duplicated it and placed it in the background as a silhouette to save time. This helped speed up the process of building additional islands without having to redo the tedious modeling work.
 | |
|
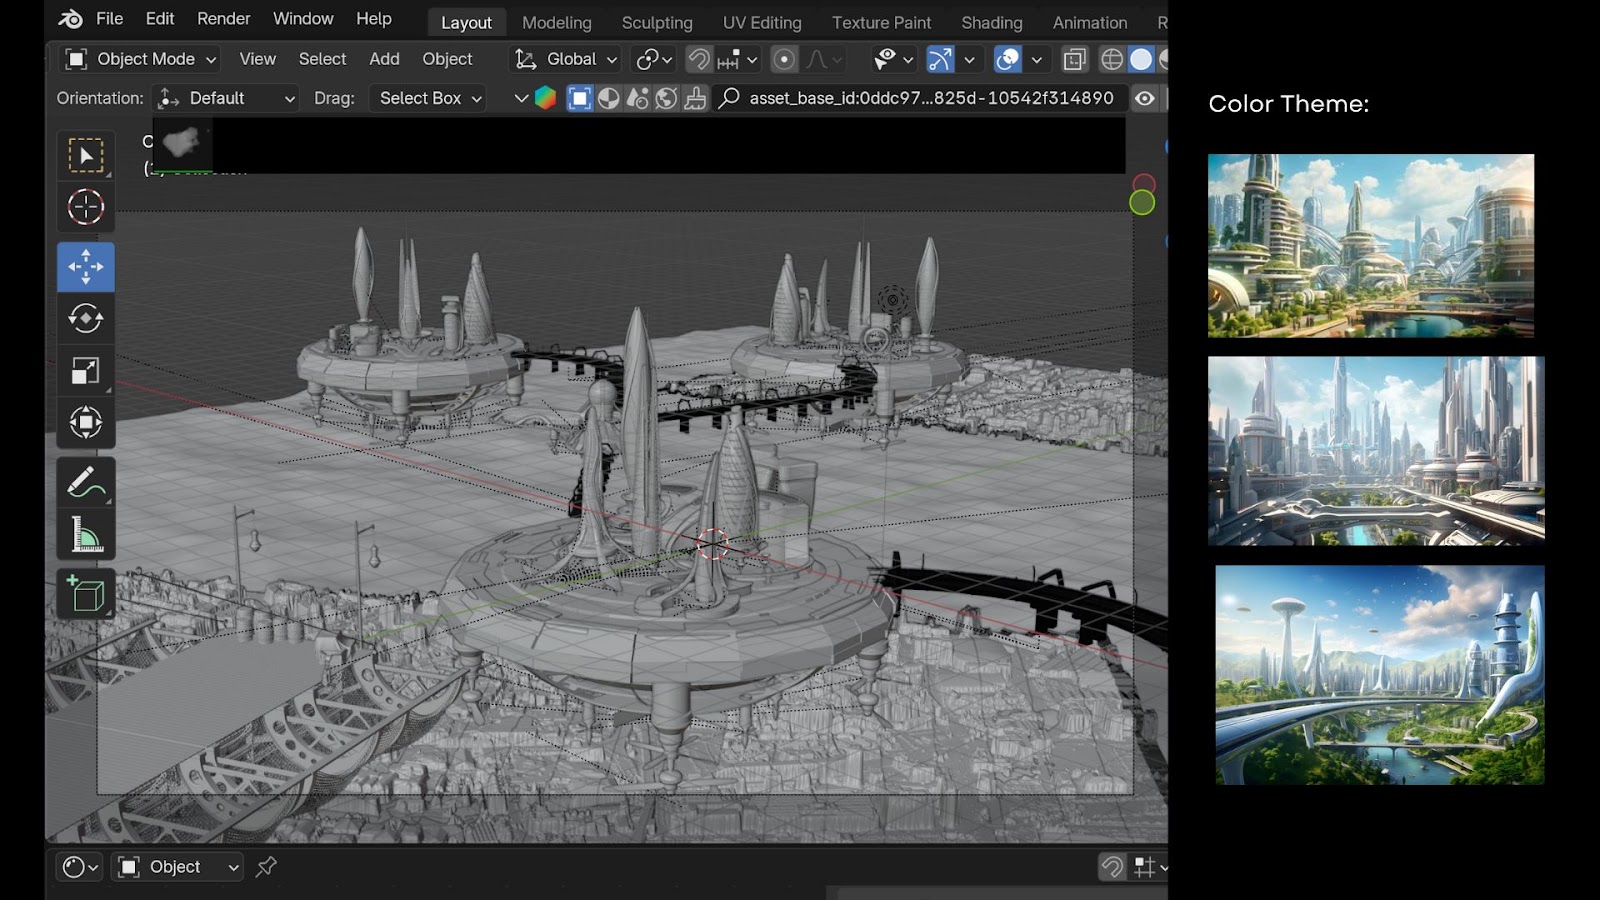
I referred to several online images to propose a color theme to my lecturer. However, I fell behind due to challenges with texturing and placing objects. Rendering in the material viewport frequently caused crashes, making it difficult to preview my textures. In Week 12, I focused on animating the camera for my final project to present it to my lecturer. This helped me showcase the scene dynamically and get feedback on the overall composition.
 |
| Figure 1.4 3D Progress - Week 11 (8/12/2024) |
To address this, I decided to rework the texturing by lowering the resolution. I copied all my objects into a new file and started over with a simplified setup.
 | |
|
After implementing lower-resolution textures, the scene appeared unnatural and unappealing. This outcome was disappointing and left me feeling stuck. I avoided addressing the problem immediately because it was escaping the reality of how the scene looked.
 | |
|
Despite the setbacks, I’m committed to improving the scene. My next steps will focus on refining the textures and ensuring the floating city concept is visually compelling while addressing technical limitations. I reused the original high-resolution textures in a new file but decided to change my overall plan to simplify the design.
Instead of keeping the sea and lower-ground cities beneath the floating platform, I opted for a natural environment as the backdrop. I quickly gathered references for terrain designs and shifted my focus to creating a landscape that complemented the floating city.
 |
| Figure 1.7 Terrain Reference - Week 15 (3/1/2025) |
To simplify the project further, I decided to showcase only one futuristic floating city, eliminating the need for multiple islands or intricate lower-level cities. This allowed me to focus on refining the main city’s design and ensuring it stood out against the natural terrain.
 |
| Figure 1.8 Terrain Background - Week 15 (5/1/2025) |
After countless hours and multiple attempts, I was finally able to render out my scene. While the overall composition was improved, I wasn’t satisfied with how the sky turned out. It lacked the bluish tones I envisioned, which would better complement the futuristic city.
 | |
|
To address this, I used Photoshop to perform color correction and replace the sky. I selected a sky with the right bluish tones that aligned with my vision and blended it seamlessly into the render.
 |
| Figure 1.10 Sky Replacement & Color Editing - Week 15 (8/1/2025) |
And this is what I got! The result was significantly better than my previous attempts. While it wasn’t perfect, it felt like a decent improvement that I was okay with. With the still image complete, I quickly shifted my focus to the video animation.
 |
| Figure 1.11 Final Digital Matte Painting Still Image - Week 15 (8/1/2025) |
Figure 2 Project 2 Compilation - Week 15 (8/1/2025)
FEEDBACK
Week 12: Apply textures and try rendering a low-resolution image first to see how it looks. The camera composition is fine.
Week 11: Start by getting the main colors first, then add contrast later. You can add the cities in the background, making it look like they are there but not fully visible. Play around with the composition.
Week 10: The clouds and mist can be added later on; focus on the main elements first.
Week 9: The buildings are too complex and detailed. You can reduce the intensity and focus on adding big shapes first.
REFLECTION
Throughout Project 2, I faced significant frustration because my Blender software was laggy and often crashed whenever I pressed the render button. I’ve never felt so disappointed or close to giving up in any module before, but the technical issues were overwhelming. I think I was putting too much pressure on myself to deal with the problems, which added to the stress.
Besides that, I wasn’t very familiar with using Blender to create realistic scenes, which made the process even more challenging. Despite the stress, I knew I had to keep moving forward because time was ticking. To adapt, I made changes to my original plan and focused on Plan B—something more manageable and presentable within the deadline.
There was no time to feel sorry for myself. I had to face the issues head-on, recover quickly, and do my best. This experience taught me to stay resilient, problem-solve efficiently, and make the most of the resources and time I had.


Comments
Post a Comment