Vehicle and Props Design - Final Project : Post Production and Profiling
 8/7/2024 - 1/8/2024 : (Week 12- Week 15)
Ting Wen Yi / 0361799
Vehicle and Props Design/Bachelor of Design (Hons) in Creative Media
Final Project : Post Production and Profiling
INSTRCTIONS
Final Polished for each vehicles (Land, Water and Air). Call sheet showcasing the breakdown's of your props, interior and engine (if necessary). Key Art For all 3 vehicle concept as example attached. Call sheet needs to be well laid out.
- Color studies
- Textures
- Key Art
- Props Breakdown
- Orthographic
Output 16:9 1920+ Illustration compiled in pdf format. *please keep your single rendered images separate as well.
FINAL PROJECT : POST PRODUCTION & PROFILING
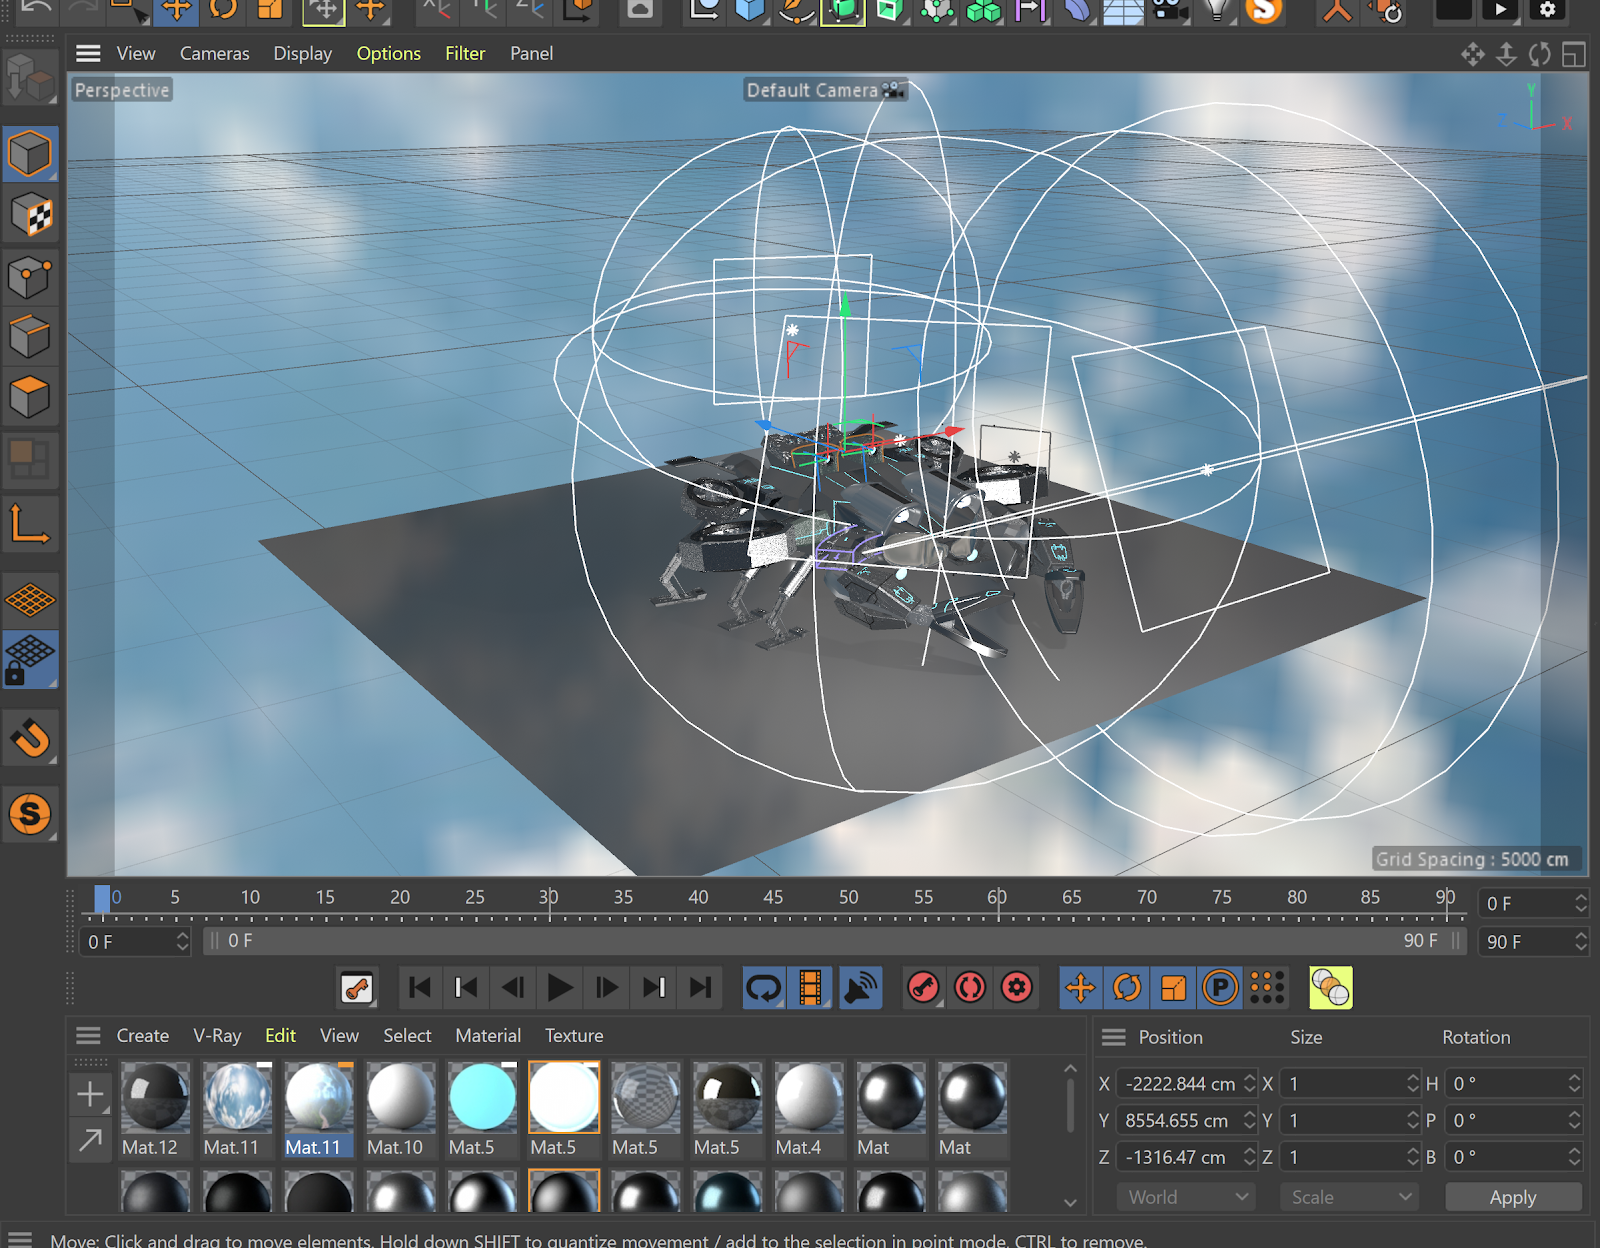
Week 13: Progression on 3D Building
Continuing with the progress of Project 1, since I have already blocked out the exterior of the air vehicle, I now need to add details to the vehicle.
 |
| Figure 1.1 Block Out in Cinema 4D - Week 8 (15/6/2024) |
I added details for the weapons and made a cover for the fan. I also included details like tiny screws on the back wing, but I think the claws still need some improvement. I added a white backdrop and lighting for the render, but for now, the lighting looks terrible. I haven't put too much effort into the second layer of the aircraft.
 |
| Figure 1.2 3D Building with Details - Week 13 (15/7/2024) |
I added a white background and rendered some views to show to Mr. Kannan. However, he said the front part was too squarish.
 |
| Figure 1.3 Render View 1 - Week 13 (15/7/2024) |
 |
| Figure 1.4 Render View 2 - Week 13 (15/7/2024) |
Week 14: Coloring
Before I start applying color, I made minor changes to my model.
 | |
|
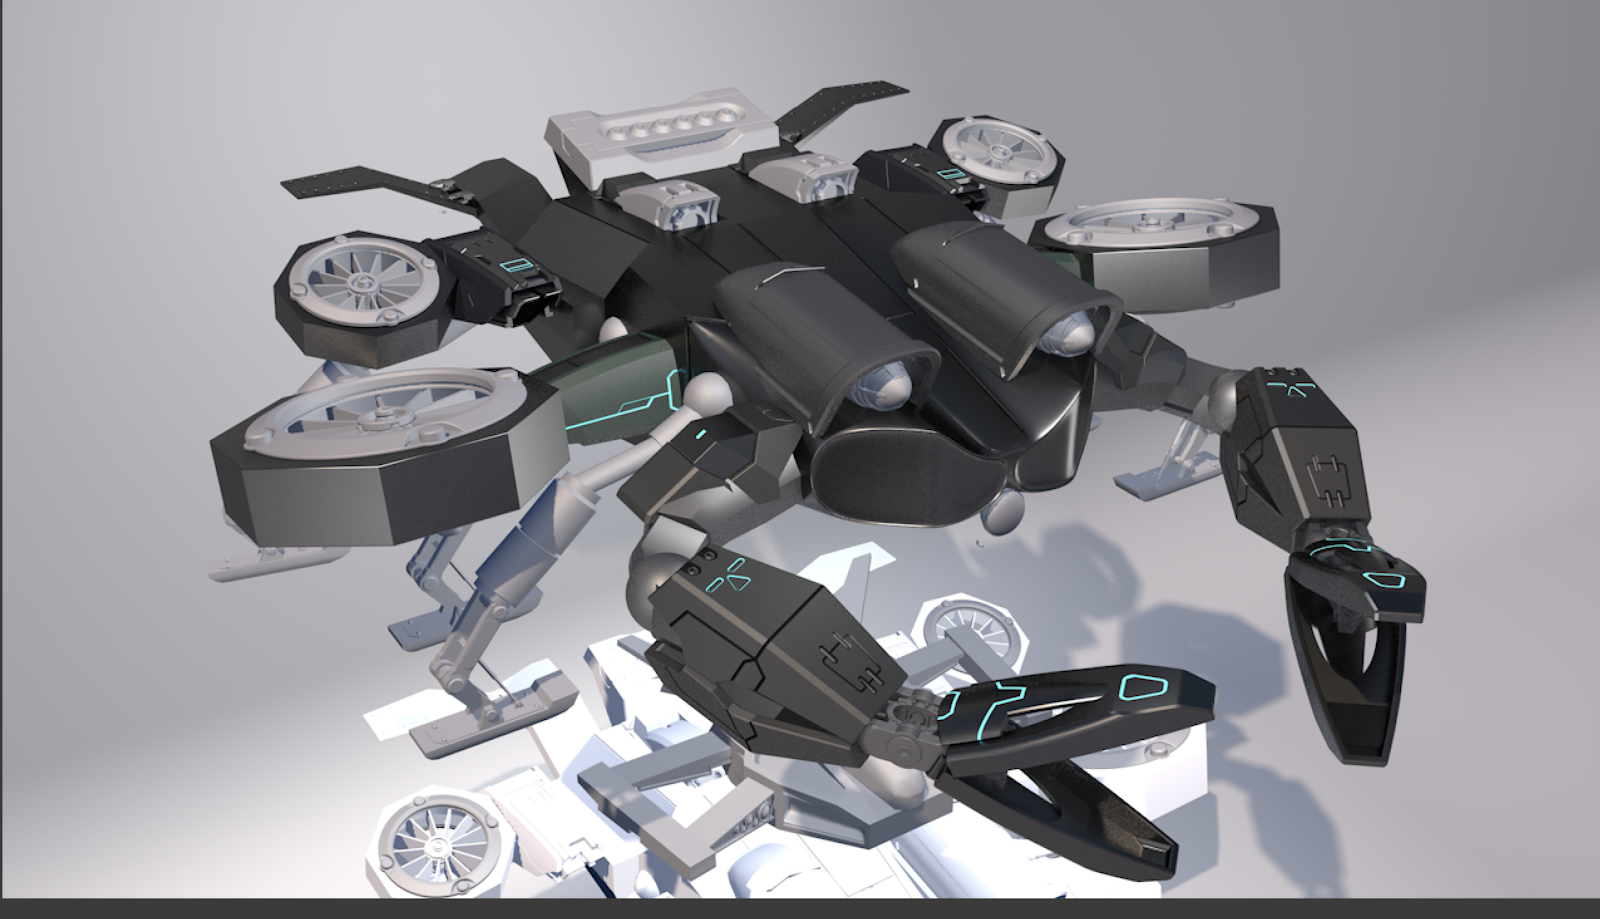
I've been working on adding material colors to my model and did some renders to see how they'd look. I mainly went with dark colors like black and grey for a solid, modern feel. I also added some green to make it pop a bit more. To give it that Jurassic vibe, I threw in some neon lights to highlight certain parts. The neon adds a cool, futuristic touch that fits perfectly with the theme.
 | |
|
Week 15: Refining and Wrapping Up
After applying all the desired colors, I used area lights and HDRI to light up the space. HDRI is great because it can be used not just as a background but also as a luminous source. This really helps to create a more realistic and vibrant lighting environment for the model.
 | |
|
After finding a good angle for the render, I went ahead and rendered my picture. However, the raw rendering came out a bit plain.
 |
| Figure 3.2 Raw Rendered - Week 14 (29/7/2024) |
So, I added some stickers and textures to the plane to give it more character and make it look more interesting.
 | |
|
Then I rendered out other views and did the same for the top view, front view, and side view. Adding the stickers and textures really helped bring the model to life from all angles. I also removed the background to make it easier to place in my board.
 | ||||
|

 | |
|
Amendments on Interior
After receiving feedback from Mr. Kannan on Project 2, I made some refinements. I added lights and stickers as minor design elements, including subtle red lights and some dirt on the side of the chair. I also placed an exit sign above the exit door. I rendered a second view to show the screen more clearly.
 | |
|
 |
| Figure 4.2 Interior 3D Final Render View 2 - Week 15 (29/7/2024) |
To give a better understanding of the interior of my air vehicle, I drew a simple floor plan to show the layout. This helps to visualize the space and how everything is arranged inside.
 |
| Figure 4.3 Floor Plan - Week 15 (30/7/2024)) |
To showcase how the aircraft can blend into its environment, I rendered a view demonstrating its camouflage capabilities. The exterior of the plane can turn into a surface with 100% reflection, making it look like it’s part of the surrounding environment. I created both a day view and a night view to show how the aircraft adapts to different lighting conditions. This effectively highlights how the plane can seamlessly blend in, whether during the day or at night.
 | |
|
 |
| Figure 4.5 Camouflage Mode Night View - Week 15 (31/7/2024)) |
Since the focus of my proposal was on creating a dual-layer aircraft, I concentrated most of my effort on the first layer, as it is the primary feature of the design. To illustrate the aircraft’s functionality, I rendered the second layer alongside the first layer. This shows how the plane deploys, with the second layer extending out from the main body. I also included a bottom view to demonstrate how the plane appears when the second layer is retracted or captured. Although I didn’t put as much emphasis on detailing the second layer, this approach effectively showcases how the dual-layer system operates and integrates with the main design, highlighting the key functionalities and interactions of the aircraft.
 |
| Figure 4.6 Double Layer Aircraft Side View - Week 15 (31/7/2024)) |
 |
| Figure 4.7 Double Layer Aircraft Bottom View - Week 15 (31/7/2024)) |
After finishing all the rendering and touch-ups, I used Illustrator to put together my presentation board. I named the craft "Skyclaw Sentinel" because it’s inspired by crabs, with claws designed for capturing dinosaurs. The name captures its agility and purpose. I included all the essential details about the aircraft and also added my sketches and prop designs from previous projects. The board now gives a complete picture of the Skyclaw Sentinel, showing off both its design and how it’s evolved.
 |
| Figure 4.8 Presentation Board Design - Week 15 (31/7/2024)) |
Final Outcome
Figure 5.1 Presentation Board Design - Week 15 (31/7/2024)
Figure 5.2 Final Project Compilation - Week 15 (31/7/2024)
FEEDBACK
Week 14 :
You can shift the lights in the middle to the side. If it's too difficult, you can just delete the lights.
Week 13 : (Feedback For Interior)
The texture is too flat, keep it clean. You can apply two-tone colors and use different materials like holes and inlets. Add signage for design on the flooring and mark no-go zones. You can add some stains or dirt. Use two types of leather for chairs, maybe red or blue, but don't use too many colors. Keep a simple grey color on the armrests. Add very subtle light, not too red, and use rim lighting. You can also add some stickers to add depth, but not everywhere.
REFLECTION
Experience
Working on this module was both challenging and rewarding. From the initial design phase to the final touches, I invested a lot of effort into ensuring every detail was just right. Completing the module gave me a great sense of satisfaction and relief. I was particularly pleased with the final outcome, especially the presentation board, which turned out exactly as I had envisioned.
Observation
I noticed how important it is to keep both the big picture and the small details in mind. Getting feedback and making adjustments were crucial in shaping the final design. This module showed me that every little step in the process affects the overall result. I also noticed how crucial lighting is in affecting the overall feel of the vehicle. It doesn’t just highlight details and materials; it also influences the mood and atmosphere the vehicle projects.
Findings
Completing this module helped me improve my 3D modeling and rendering skills a lot. The final presentation board came together well, and I felt that my previous sketches and props fit perfectly into the overall design. I’m excited to take what I’ve learned and do even better in the next semester.
Comments
Post a Comment